
Installing a new dryer: what to check and what a pro does
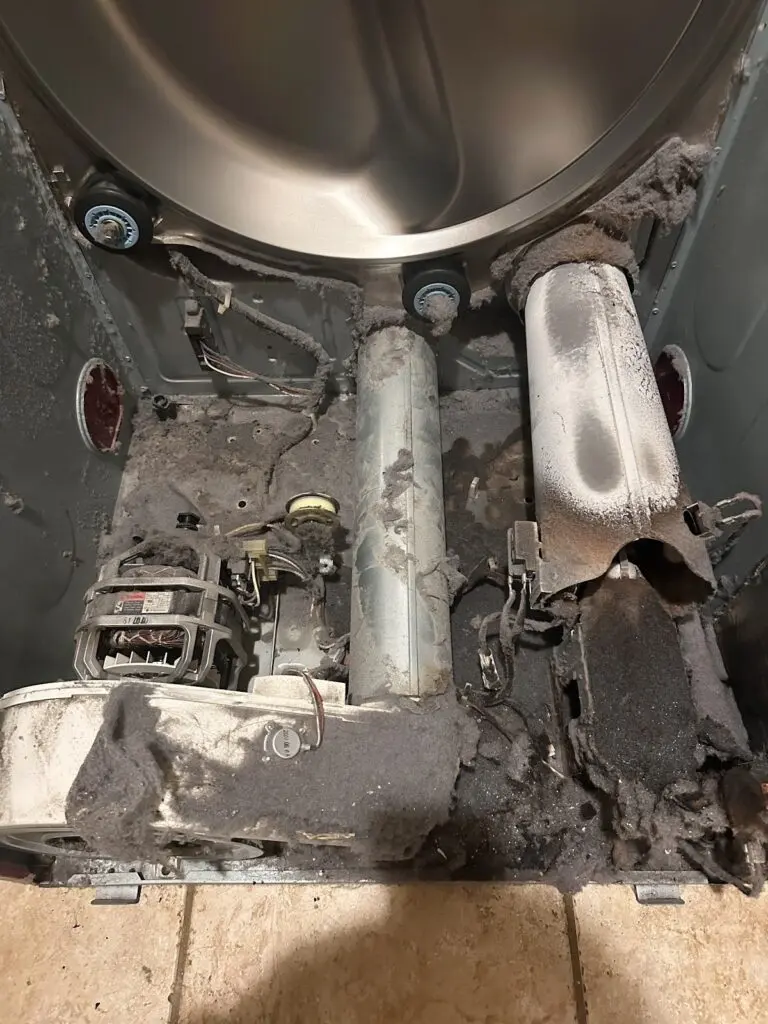
A new dryer installation looks like a simple push-and-plug job. It is, if the power supply, the vent and the space are all right. Most problems come from the parts you cannot see: the wrong cord, a crushed duct, or a vent that was never clean. Here is what to check, and where a professional should do the work.
Table of Contents
Step 1: electric or gas
Look at the old dryer and the wall behind it. A gas dryer has a gas pipe and shutoff valve nearby as well as an outlet. An electric dryer has a large outlet and no gas connection. The new dryer must match the supply you have. Buy the model for your hookup; a new dryer installation goes much more smoothly when the supply already matches.
For a gas dryer, the gas connection, the shutoff valve and the leak test are the job for a qualified professional. We do not describe gas work here, and you should not try it. If you smell gas at any time, leave the house, avoid switches and flames, and call the gas utility.
Step 2: electric dryers and the outlet
Electric dryers run on a 240-volt circuit with its own double breaker. Two outlet styles are in use: a three-prong and a four-prong. The cord on the dryer must match the outlet, and many dryers are sold without a cord so that you can fit the right one. Do not use an extension cord. Do not swap a cord type unless you know how the wiring in your house is arranged and how the dryer’s grounding is set up, since a wrong connection can energise the dryer’s metal cabinet. If the outlet and cord do not match, or if the outlet is scorched, loose or old, have an electrician or technician sort it out.
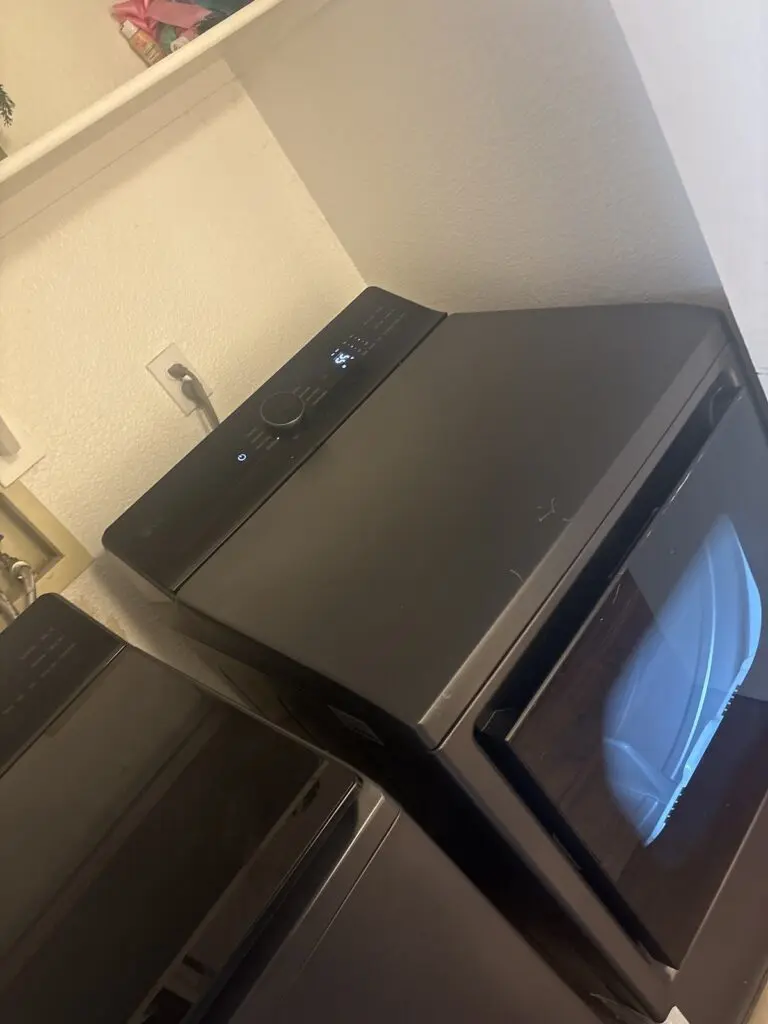
Step 3: the vent
The vent matters more than anything else in a new dryer installation, because a restricted vent causes slow drying and overheating, and it is the main factor in dryer fires.
- Vent outdoors. Not into the garage, attic or crawl space.
- Use metal duct, rigid or semi-rigid, of the diameter the dryer requires. Skip white vinyl and foil accordion duct, which sag, tear and burn.
- Short and straight. Each elbow reduces airflow. The manual gives the maximum length and how much to subtract per bend.
- Clean what is already there. The old duct and outside hood may be full of lint. Clean it or replace it before connecting a new dryer.
- Secure joints with clamps or foil tape rated for ducts, not with screws that poke into the airstream and collect lint.
- Check the outside hood. The flap should open freely and the screen should not be covered, because screens clog with lint.
See also dryer overheating and fire prevention for what happens when vents are neglected. The National Fire Protection Association also publishes dryer safety tips on venting and cleaning.
Step 4: space and clearance
For a new dryer installation, measure width, depth and height of the dryer plus the duct and cord at the back. Allow the space shown in the manual, since a dryer pushed hard against the wall can crush its own duct. A pull-out space behind the dryer with an elbow that is low profile helps. If the dryer goes in a closet, the door needs ventilation openings, as the manual states, so that the dryer can draw in air.
Step 5: level and stable
Set the dryer where the floor is firm. Adjust the feet until it does not rock, using a level on top. An uneven dryer rumbles, and wears out drum rollers faster.
Step 6: reverse the door if needed, and do the first run
Many dryers have a reversible door swing. Check it before the machine goes into its final position. Remove any tape, packaging and the lint screen wrapper. Plug in, then run a short cycle on air or low heat. Go outside to the vent hood and check that strong air is coming out. Check that the drum turns smoothly and quietly. Then run a normal load and check that it heats and stops properly. Treat a new dryer installation as finished only when the first run checks out.
What a pro does on a new dryer installation
A technician matches the dryer to the supply, checks the outlet and cord, handles the gas connection on gas models, inspects the vent and tests the airflow, then levels and runs the machine. If you are installing a washer along with the new dryer installation, see the washer installation checklist. You can read more on our appliance installation page.
Stop and call if
- The outlet does not match the cord.
- The outlet or plug is hot, scorched or loose.
- You cannot find or reach the vent, or it runs into a wall space or attic with no outside hood.
- You smell gas.
If you would rather have a technician look at it, book at /book/ or call (916) 582-7791 and ask for the next available window. The service call is $80, paid at your home or with PayPal or a credit card.
Common questions
Can I install a gas dryer myself?
The gas connection and leak testing should be done by a qualified professional. If you smell gas, leave and call the gas utility.
What is the difference between a three-prong and four-prong dryer outlet?
The four-prong type has a separate ground wire and is used on newer circuits. The cord has to match the outlet, and changing it needs care with the grounding, so ask a pro if unsure.
What type of vent duct should I use for a dryer?
Rigid or semi-rigid metal duct, as short and straight as possible. Avoid vinyl and foil accordion duct.
Can I use an extension cord for my dryer?
No. A dryer draws a large current and needs the proper outlet and cord.
Related guides

Why Even New Appliances Can Break So Soon
Control boards, sensors, power surges and installation mistakes: the usual reasons a new or smart appliance breaks early.
Appliance Disposal in Sacramento: Your Options for Getting Rid of an Old Unit
Retailer haul-away, city and utility programs, scrap yards and refrigerant rules: how to dispose of an old appliance in the Sacramento area.
Microwave Not Heating: Fuse, Door Switch and Parts
When a microwave runs but does not heat, the cause is usually a fuse, door switch or high-voltage part. Here is what to check…